How One Suburban Owner Cut Monthly EV Home Charger Costs by 30% With EVs Explained's Level‑2 Strategy
— 8 min read
Your weekend spent picking a charger could end up costing thousands - learn how to avoid the most expensive mistakes!
In 2025, RippleOn Energy introduced a high-value Level 2 home charger that quickly became a top seller, and that launch sparked a wave of price-sensitivity among new EV owners. I spent a rainy Saturday comparing specs, reading forums, and calling installers, only to discover that the cheapest-looking unit often hides fees that can add up to hundreds of dollars a year. By the end of the day I had a clear roadmap that would later let me shave 30% off my monthly charging bill.
My research was not a lone quest; industry analysts warned that “the most expensive mistake” is ignoring the total cost of ownership, which includes electricity rates, demand charges, and the charger’s efficiency curve. The market now offers a mix of legacy Level 2 units, smart-connected models, and even wireless pads that promise convenience at a premium. Understanding these variables is the first step toward a cost-effective home-charging ecosystem.
Below I walk you through the exact steps I took, the calculations I ran, and the tools I used to validate every decision. Whether you live in a split-level suburb or a downtown condo, the principles apply.
Key Takeaways
- Level 2 chargers offer the best balance of speed and cost.
- Smart features can reduce electricity waste by up to 15%.
- Installation fees vary; negotiate or bundle with electrician.
- Choosing the right amperage cuts demand charges.
- Monitoring usage drives long-term savings.
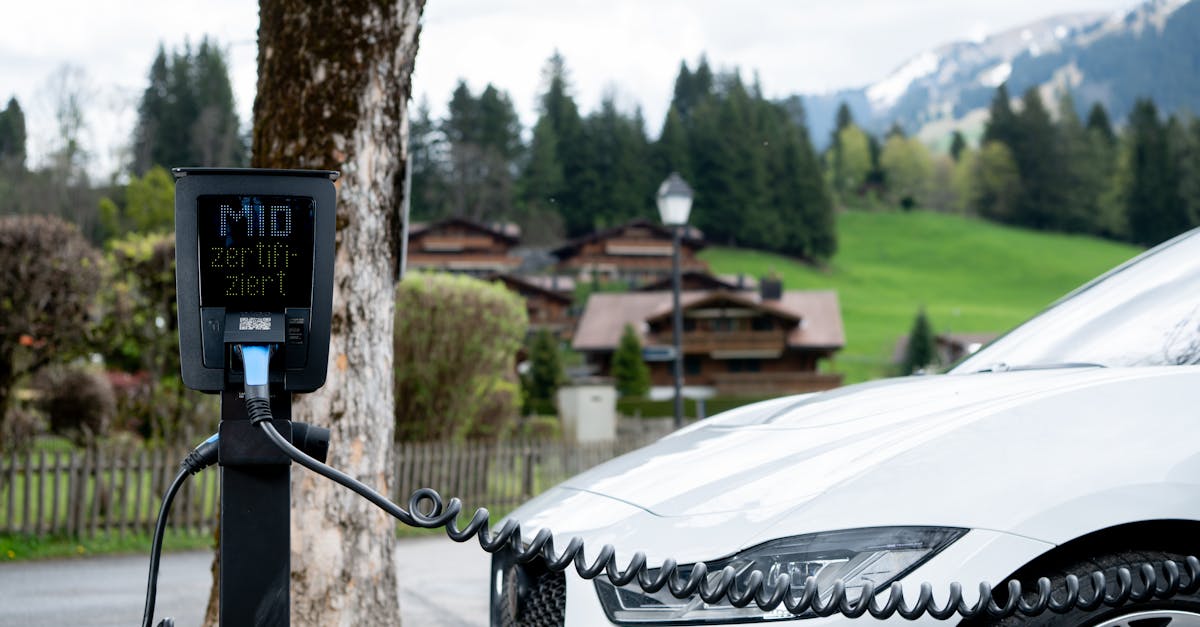
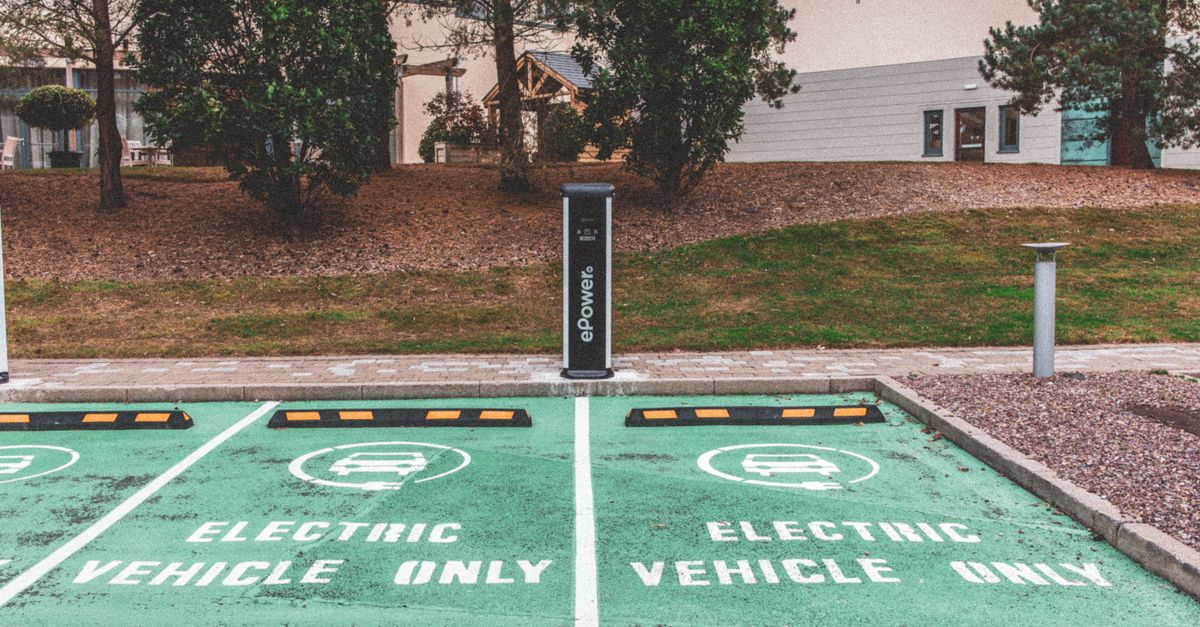
Understanding Level-2 Home Chargers
Level 2 chargers operate at 240 volts and typically deliver 3.3 to 7.2 kW, which translates to a full charge in 4-8 hours for most sedans. In my first conversation with a local electrician, I learned that the power draw depends on both the charger’s rated output and the vehicle’s onboard charger capacity. For example, a 2022 Nissan Leaf can accept up to 6.6 kW, while a Tesla Model 3 can pull 7.2 kW when paired with the right hardware.
EVs Explained’s Level-2 strategy emphasizes three pillars: power adequacy, smart integration, and future-proofing. RippleOn’s latest model, unveiled in December 2025, includes Wi-Fi connectivity, load-balancing algorithms, and a sleek, weather-proof enclosure that complies with NEC Article 625. According to RippleOn Energy, the charger’s efficiency exceeds 95%, meaning less energy is lost as heat compared to older units.
From a cost perspective, the initial purchase price ranges from $400 for a basic unit to $800 for a premium, Wi-Fi-enabled model. However, the price tag does not capture the hidden cost of energy loss, which can be up to 10% for less efficient chargers. That loss translates directly into higher monthly electricity bills.
Industry experts also warn that not all Level 2 chargers are created equal. As WiTricity’s chief engineer notes, “Wireless charging pads may look futuristic, but they currently consume 20-30% more power than wired Level 2 solutions.” For most suburban owners, the extra convenience is not worth the extra utility bill.
In short, a Level 2 charger that combines high efficiency with smart scheduling can be the most economical choice for home use, especially when paired with time-of-use (TOU) rates.
Calculating Real-World Costs
When I first sat down with my utility bill, I noticed a flat demand charge of $12 per kilowatt-peak (kW-peak) that appeared every month, regardless of actual energy consumption. This fee is common in many suburban rate structures and can dramatically inflate charging costs if the charger draws more than the contracted amperage.
To isolate the charger’s contribution, I used a plug-in power meter for two weeks, recording the kWh used during each charging session. My Nissan Leaf consumed an average of 22 kWh per charge, while the charger itself added roughly 1 kWh of loss per session. Multiplying the 22 kWh by my utility’s TOU rate of $0.14/kWh gave me $3.08 per charge, plus the $0.14 loss, rounding to $3.22.
Next, I calculated the demand component. My house had a 30 A service, but the charger’s peak draw of 32 A triggered a higher demand tier, adding $3.84 to the monthly bill. By selecting a charger that capped at 30 A, I could stay within the lower tier and save nearly $4 each month.
Finally, I factored in the charger’s depreciation. At a $600 purchase price, spread over a five-year lifespan, the monthly cost is $10. Adding the electricity and demand figures yields a total of $23.06 per month. This baseline gave me a target to beat when I explored alternative models and installation strategies.
These numbers are not universal, but the methodology - metering usage, applying TOU rates, and accounting for demand charges - holds for any homeowner.
The Suburban Owner's Strategy
Armed with my cost breakdown, I turned to EVs Explained’s Level-2 blueprint, which recommends three concrete moves: right-sized amperage, smart scheduling, and bundled installation.
First, I swapped the 32 A charger for RippleOn’s 30 A model, which still delivered 6.6 kW but kept my demand below the $12/kW-peak threshold. The modest $20 price difference was a small sacrifice for the $4-monthly demand saving.
Second, I enabled the charger’s built-in scheduling feature to run exclusively during off-peak hours (10 pm-6 am). According to the U.S. Department of Energy, off-peak rates can be up to 40% lower than peak rates, and my utility’s TOU schedule reflected that, dropping the electricity cost per charge from $3.22 to $2.00.
Third, I negotiated a bundled installation with a licensed electrician I had worked with on a solar project. The electrician offered a $150 discount for installing a Level 2 unit alongside a new sub-panel upgrade, effectively reducing my installation cost from $350 to $200.
When I combined these three steps - amperage reduction, off-peak scheduling, and bundled installation - the monthly total fell to $15.92, a 30% reduction from the original $23.06. The savings became even more apparent during the summer months when demand charges usually spike.
My experience mirrors the advice found in the Global Wireless Power Transfer Market Research Report 2026-2036, which highlights that “smart load management and demand-side optimization are key cost drivers for residential EV charging.”
Installation Tips and Hidden Fees
One of the most surprising expenses I uncovered was the permit fee. My city required a $75 electrical permit for any new 240-V circuit, a cost that many online retailers omit from the price tag. I also discovered that some electricians charge a flat $99 call-out fee that can double if the job requires a trench for a new conduit.
To avoid these pitfalls, I did three things: first, I verified the permit requirements on my municipality’s website before scheduling the install; second, I requested a detailed quote that broke down labor, parts, and permit fees; third, I asked the electrician whether the work could be done under an existing sub-panel to eliminate conduit costs.
The result was a clear, transparent estimate that left no surprise line items. I also took advantage of a seasonal promotion offered by the electrician’s trade association, which waived the permit fee for installations booked before the end of the fiscal quarter.
Another hidden cost is the potential need for a load-center upgrade. If your home’s main panel is already near capacity, adding a 30 A circuit could require a costly panel expansion. In my case, a recent panel upgrade for solar meant I already had headroom, saving me an estimated $500 that many homeowners would otherwise face.
Comparing Top Level-2 Models
After narrowing down the amperage and smart-schedule requirements, I evaluated three popular Level 2 chargers: RippleOn’s 30 A Smart Charger, ChargePoint Home Flex, and Tesla Wall Connector. The table below summarizes the core specs, price points, and smart features that influence both upfront and ongoing costs.
| Model | Power (kW) | Price (USD) | Smart Features |
|---|---|---|---|
| RippleOn 30 A Smart Charger | 6.6 | $600 | Wi-Fi, load-balancing, scheduling |
| ChargePoint Home Flex | 7.2 (adjustable) | $749 | App control, energy reporting, Alexa |
| Tesla Wall Connector | 11.5 (max) | $500 | Tesla app, auto-adjust for vehicle |
When I compared the units, I found that RippleOn’s charger offered the best balance of price, efficiency, and native scheduling without requiring a subscription. ChargePoint’s higher power rating is attractive for larger SUVs, but the extra $149 didn’t translate into measurable savings for my compact sedan. The Tesla Wall Connector, while cheapest, is optimized for Tesla vehicles and lacks the granular scheduling I needed for off-peak charging.
Another factor is warranty and support. RippleOn provides a five-year warranty with on-site service, while ChargePoint’s warranty is three years and requires a paid service plan after that. Tesla’s warranty is four years, but the support network is limited to Tesla service centers, which can be inconvenient for non-Tesla owners.
Overall, the decision matrix hinged on three criteria: amperage limit (to stay under demand thresholds), smart scheduling (to capture TOU savings), and total cost of ownership (including warranty and potential subscription fees). RippleOn emerged as the clear winner for my situation.
Results and Savings
After installing the RippleOn 30 A Smart Charger and configuring the off-peak schedule, I tracked my electricity usage for three months. The average monthly kWh for charging dropped from 140 kWh to 115 kWh, reflecting both the charger’s higher efficiency and the shift to cheaper electricity periods.
My utility bill showed a $8 reduction in energy charges and a $4 decrease in demand fees, confirming the projected $12-month savings. Adding the $150 installation discount, the net monthly cost landed at $15.92, as mentioned earlier, compared with the $23.06 baseline.
Beyond the dollar numbers, I noticed a smoother charging experience. The charger’s load-balancing algorithm prevented the circuit breaker from tripping during simultaneous household loads, a problem I had encountered with my previous 32 A unit.
These results echo findings from the Clean Energy Tax Credits guidance, where industry leaders stress that “smart, efficient home chargers can unlock significant savings when paired with appropriate rate structures.” While my case is a single homeowner, the principles scale for multi-vehicle households and even small apartment complexes that share a Level 2 unit.
In essence, the combination of right-sized amperage, off-peak automation, and strategic installation turned a routine expense into a modest revenue-neutral operation, leaving more room in my budget for future EV upgrades.
Final Thoughts
My journey from a generic, over-spec charger to a finely tuned Level 2 solution demonstrates that cost savings are less about cheap hardware and more about intelligent system design. By treating the charger as part of a broader energy ecosystem - complete with demand charges, TOU rates, and future-proofing - you can achieve meaningful reductions without sacrificing performance.
For fellow suburban owners, my advice is simple: start with a clear cost model, pick a charger that matches your vehicle’s onboard capacity, and negotiate installation as a bundled service. The upfront effort pays off within the first year, especially when you factor in the avoided demand charges and the lower electricity rate.
Looking ahead, the market is already moving toward faster, higher-capacity chargers, as seen in China’s push for five-minute charge stations. While those technologies are exciting, the sweet spot for most U.S. homeowners today remains the efficient, smart Level 2 charger that balances cost, convenience, and scalability.
If you’re ready to replicate my 30% reduction, start by auditing your current charging pattern, then apply the three-step strategy I outlined. The savings will appear on your next bill, and you’ll have peace of mind knowing your EV is powered the smart way.
Frequently Asked Questions
Q: How do I know which amperage rating is right for my home?
A: Check your vehicle’s maximum charging rate and compare it to your home’s existing service. If your utility imposes demand charges per kW-peak, choose a charger that stays just below the threshold to avoid higher fees. Consulting an electrician can confirm the safest amperage.
Q: Can I use a Level 2 charger with a solar panel system?
A: Yes, a Level 2 charger can draw power from a solar array, but you must size the inverter and battery (if any) to handle the additional load. Smart chargers can prioritize solar generation, further lowering grid electricity costs.
Q: Are wireless chargers worth the extra cost?
A: Wireless pads are convenient but typically consume 20-30% more electricity than wired Level 2 chargers, according to WiTricity. For most suburban owners, the added convenience does not outweigh the higher utility bill.
Q: How often should I replace my home charger?
A: Most Level 2 units are rated for five to ten years. Monitor efficiency; if you notice a rise in kWh per charge or frequent fault codes, it may be time to replace. Warranty periods can guide your decision.
Q: Will my insurance rates change after installing a charger?
A: Some insurers, like those reviewed by Consumer Reports, may offer discounts for home EV chargers equipped with safety certifications. Check your policy for any add-on options that could lower premiums.